Use Aliases to Redirect Old URLs
This article provides a quick guide to using Hugo aliases to redirect old URLs when reworking already published content.
Having published an article, after a while, you often need to return to the already published material and revise it. During such revision, not only the content of the article may change, but also its title. So, whenever the title changes, it’s advised to update the slug of the published page.
Here I want to emphasize the importance of having a concise, descriptive, and relevant article title and, consequently, a matching slug because they greatly help convey the page’s information to visitors and search engines.
For example, given the URL for this post is https://kiroule.com/article/use-aliases-to-redirect-old-urls/, it can be split into the following parts:
baseurl: https://kiroule.com/
section: article/
slug: use-aliases-to-redirect-old-urls/
As per the Hugo documentation, by default, the slug value is determined by the name of the content file, for example, use-aliases-to-redirect-old-urls.md.
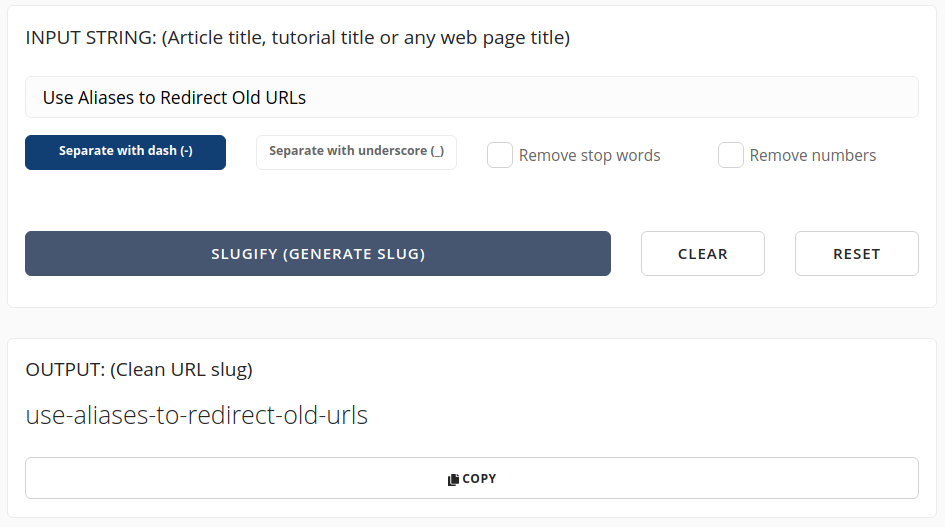
To produce a slug, you can use an online slugifier like https://slugify.online/:
Thus, whenever the name of the content file changes, the URL of the corresponding page also changes. Therefore, to prevent 404 errors for old URLs, you should add the aliases variable to the revised article’s front matter. This variable is defined as:
an array of one or more aliases (e.g., old published paths of renamed content) that will be created in the output directory structure
In my case, the article “Automate Index Upload to Algolia Search” has been revised twice. And every time, its title changed. After the first revision, the title changed to “Automate Data Import to Algolia.” During the second revision, I re-defined the title as “Automate Data Upload to Algolia Index.” With each revision, the corresponding content file name was also updated, which in turn altered the URL of the page.
Hence, to make the previously published URLs functional, I added the following relative to the base URL aliases in the article’s front matter:
aliases:
    - /article/automate-index-upload-to-algolia-search/
    - /article/automate-data-import-to-algolia/
But once the aliases are specified, how does it work under the hood?
As you can see, for each alias entry, Hugo created a directory that contains an auto-generated index.html file:

For example, index.html files in the public/article/automate-data-import-to-algolia and public/article/automate-index-upload-to-algolia-search directories are identical and contain the canonical URL and the redirect target for the latest version of the article:
<!DOCTYPE html>
<html>
<head>
  <title>https://www.kiroule.com/article/automate-data-upload-to-algolia-index/</title>
  <link rel="canonical"
        href="https://www.kiroule.com/article/automate-data-upload-to-algolia-index/"/>
  <meta name="robots" content="noindex">
  <meta charset="utf-8"/>
  <meta http-equiv="refresh"
        content="0; url=https://www.kiroule.com/article/automate-data-upload-to-algolia-index/"/>
</head>
</html>
The meta http-equiv="refresh" line is responsible for the actual redirect.
Also, the <meta name="robots" content="noindex"> line prevents engine bots from crawling and indexing the new alias page.
So, as you can see, Hugo provides an easy-to-apply and straightforward mechanism to handle redirecting to old URLs when reworking or migrating existing published content.
Continue reading the series “Building Your Blog, the Geeky Way”:
- Start Blogging With Hugo, GitHub and Netlify
- Configure Custom Domain and HTTPS on Netlify
- Add Favicon to Hugo-Based Website
- Automate Data Upload to Algolia Index
- Manage Environment-Specific Settings for Hugo-Based Website
- Automate Data Upload to Algolia Index : Revisited
- Configure Custom Domain and HTTPS in Netlify : Revisited
- Use Aliases to Redirect Old URLs
- Automate Data Upload to Algolia Index with GitHub Actions