Add Favicon to Hugo-Based Website
In this third article of the series, we continue enhancing the website that we created earlier. This time I will demonstrate you how to generate a favicon image set and integrate it with a website implemented with Hugo.
A favicon is a 16x16 pixel-sized image that usually associated with a particular website. In a web browser, favicons most often displayed next to the webpage’s title on the tab or on the webpage’s name in the bookmarks’ list. When creating a blog, many underestimate the importance of having a favicon, but it plays an essential role in your website branding and identity around the web.
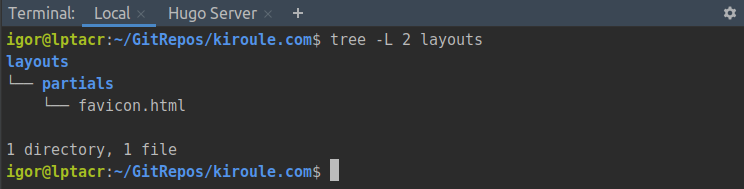
As for adding a favicon to a Hugo-based website, it all depends on how the Hugo theme of your choice was implemented. Any well-implemented theme should have the favicon.html file that used to define what favicon images to use. This file should be present in the layouts/partials folder in your site’s root directory:
The Bilberry theme has such a file, and it contains straightforward instructions on how to add favicon images:
<!--
    Insert your favicon definitions here and put the icons in your `/static` folder
    Check https://realfavicongenerator.net/ for generating your personal favicon

    Remove this comment.
-->
Merely following these instructions will do.
But the presence of the favicon.html file in a Hugo theme is not always the case.
Therefore, in your theme, you should look for the layouts/partials/head.html file like that one, for instance.
If you cannot locate the head.html file, search for any other file that contains the <head> HTML tag.
For example, in the Bilberry theme, this file is named baseof.html.
Once located, copy it into the layouts/partials folder in your site’s root directory and replace the favicon’s link tags with the HTML code provided by a favicon generator.
Then place all generated favicon images into the static folder.
But why, you might ask, favicons should be placed into this particular directory? Here what the Hugo documentation says:
By default, the
static/directory in the site project is used for all static files (e.g. stylesheets, JavaScript, images). The static files are served on the site root path (eg. if you have the filestatic/image.pngyou can access it usinghttp://{server-url}/image.png, to include it in a document you can use).
Or you can do it the Bilberry way by creating the favicon.html with generated favicon links.
Then copy it along with your theme’s head.html file into the layouts/partials folder in your site’s root, and replace all favicon links in the head.html file with the following line:
{{ partial "favicon.html" . }}
Check this commit if you want to go the Bilberry way.
We proceed in two steps in this tutorial:
There are no prerequisites here. You can go right to Step 2 if you already have a base favicon image. If you do not have one and want to create a text-based favicon, you should start at Step 1. In my case, without pretending to be original, I will use my initials in Russian ИБ to create a text-based favicon.
Add Favicon Using favicon.io
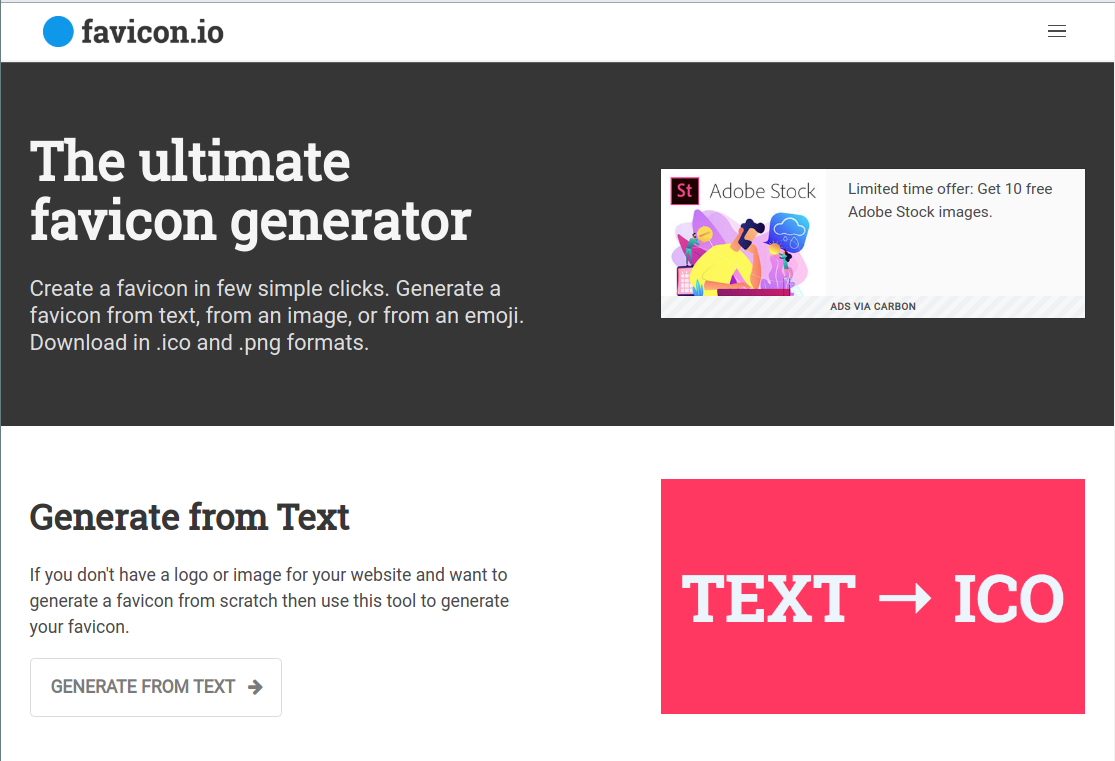
In your browser, navigate to https://favicon.io/ and click on the Generate From Text button:
Enter the letters you want in the Text field and, if needed, customize the background and font parameters:

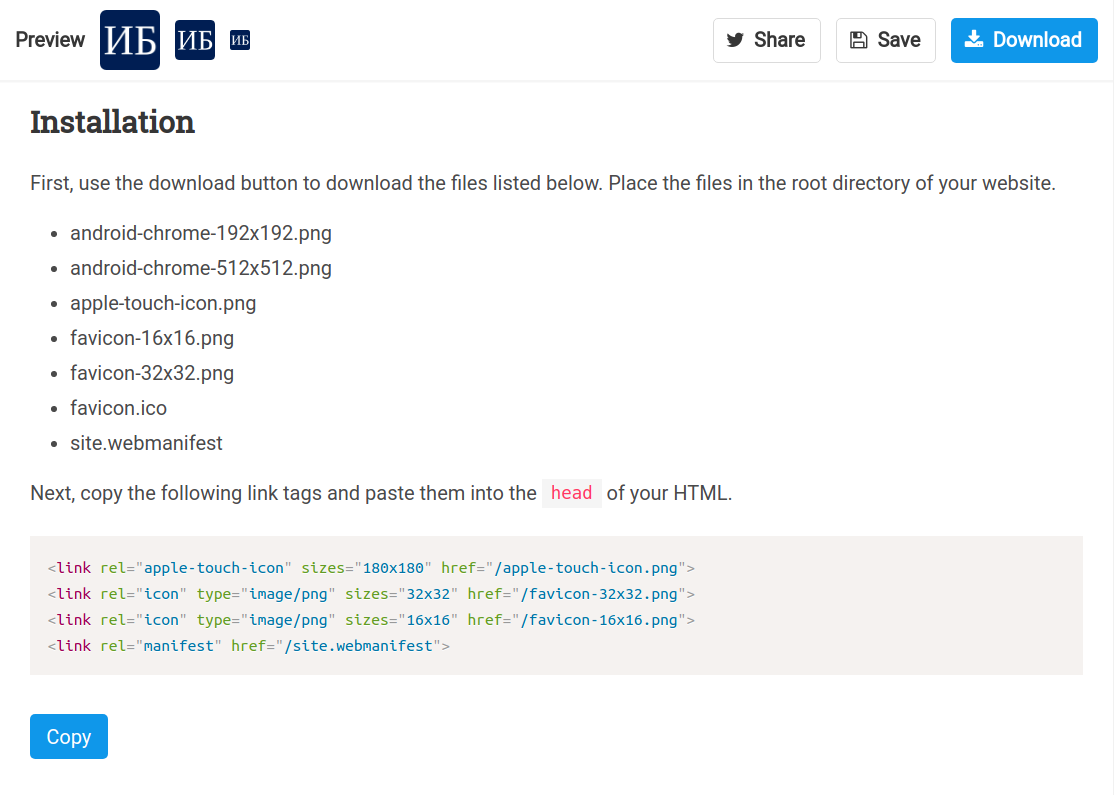
Scroll down to the section Installation and copy generated link tags and paste them into the favicon.html file; click on the Download button:
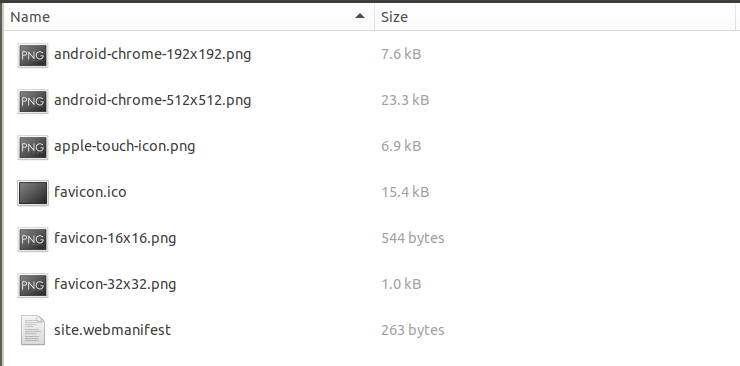
Unzip the downloaded favicon package and copy all extracted files into the static folder in the site’s root:
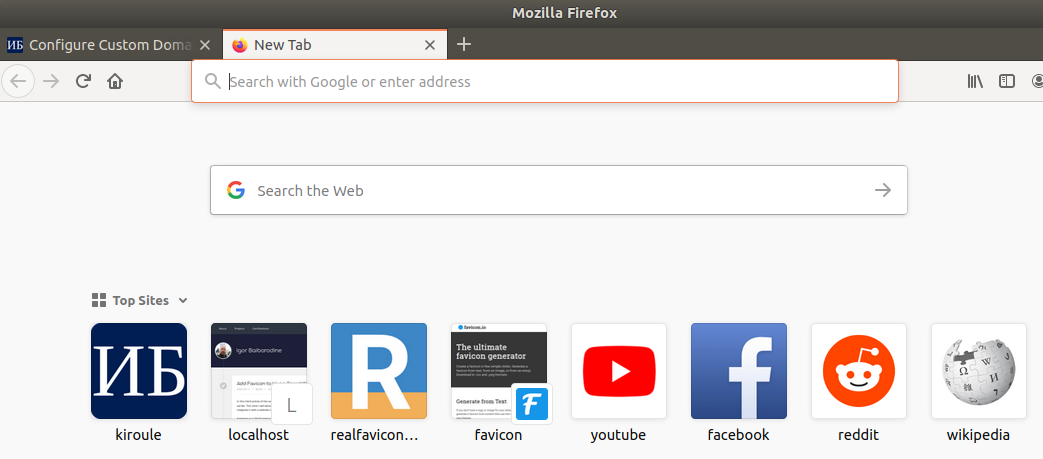
Restart your local Hugo web server if it’s running and verify in the browser that the favicon is correctly displayed next to the webpage’s title on the tab:

Commit and push changes to GitHub. Consequently, this update should trigger a new build and deploy on Netlify. Please wait until it completes and navigate to your website URL in the browser. Check if your custom favicon replaced the default favicon image.
So, it looks like we accomplished our goal, but let’s proceed with the next step.
Add Favicon Using realfavicongenerator.net
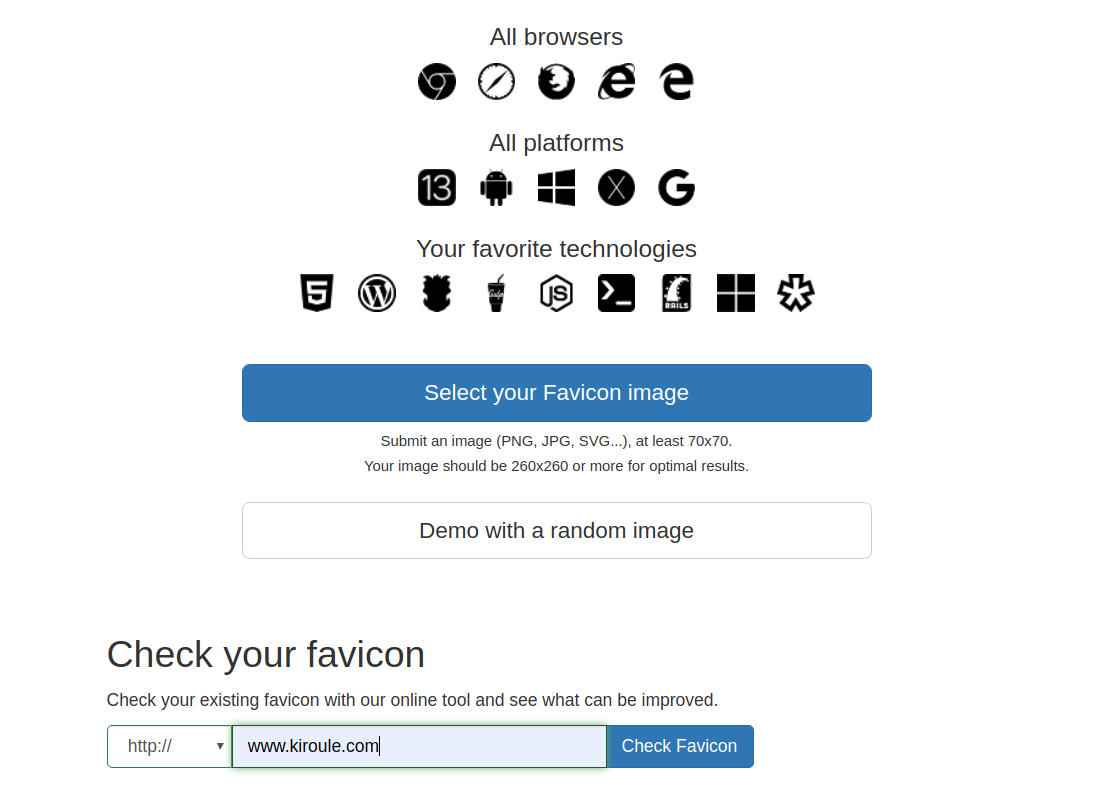
Navigate to https://realfavicongenerator.net/ in the browser; enter your website URL in the Check your favicon field and click on the Check favicon button:
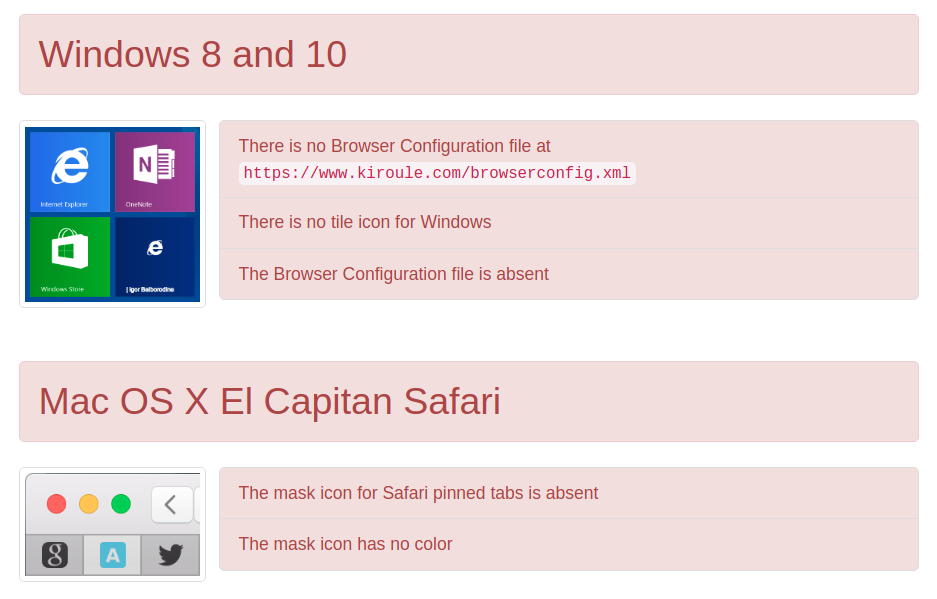
The check reveals that there are no issues with iOS Safari, Android Chrome and classic/desktop browsers. However, our favicon did not pass the test for Windows 8/10 and Mac OS X EI Capitan Safari:
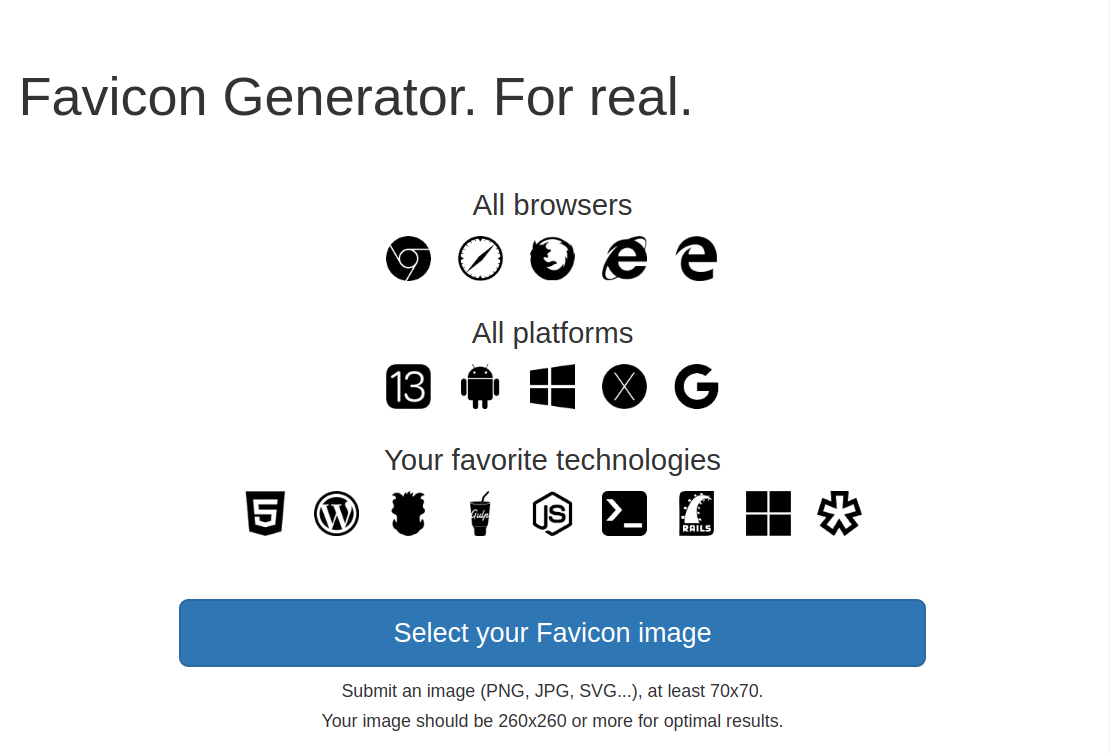
To add missing favicon images and definitions, we can generate a new favicon package using the previously generated android-chrome-512x512.png favicon as a base image. Therefore, return to the main page and click on the Select your Favicon image button, then proceed with uploading the base image from the site’s static folder:
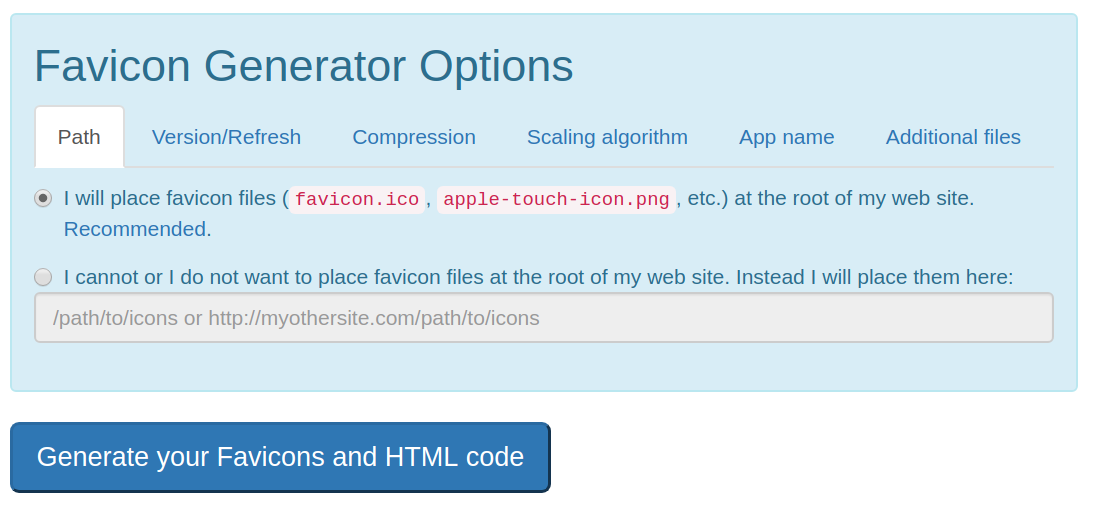
Scroll down to the bottom of the page and continue by clicking on the Generate your Favicons and HTML code button:
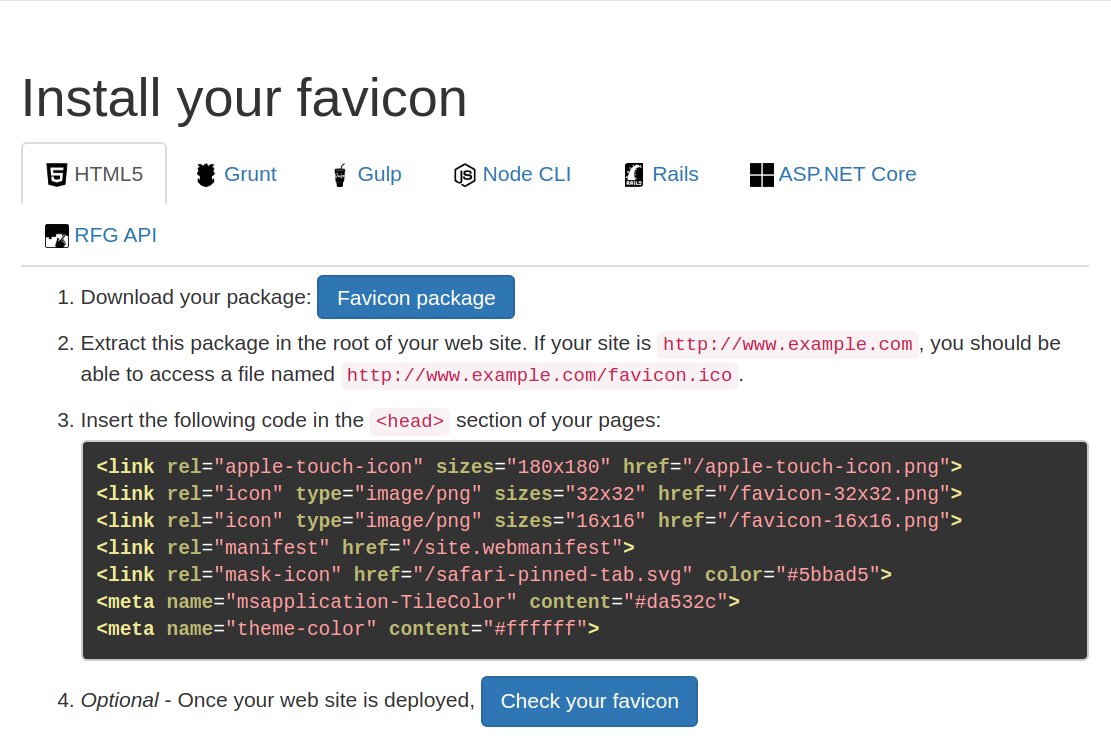
In the Install your favicon page, copy the given HTML code and replace the content of the favicon.html file with it; download the newly generated favicon package:
Unzip the downloaded favicon package and copy all extracted files into the static folder in the site’s root:
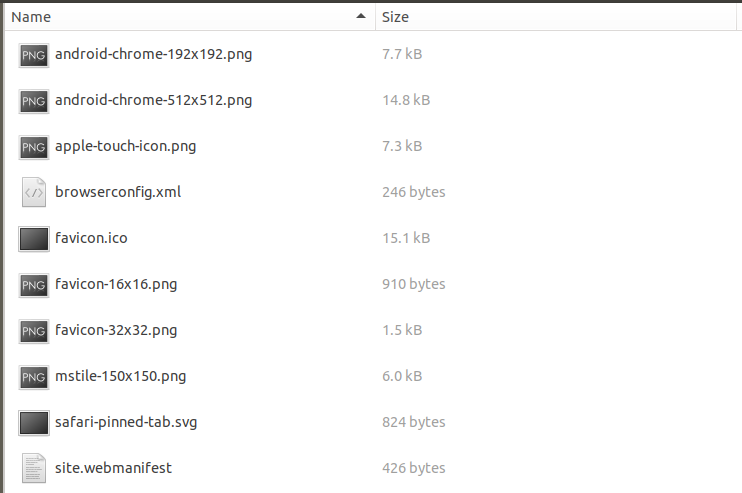
The new package contains 3 new files when compared with the package from step 1, namely, browseconfig.xml, mstile-150x150.png and safary-pinned-tab.svg. Also, the HTML code has three more tags:
<link rel="mask-icon" href="/safari-pinned-tab.svg" color="#5bbad5">
<meta name="msapplication-TileColor" content="#da532c">
<meta name="theme-color" content="#ffffff">
Then again, commit and push changes to GitHub. Please wait until the deployment on Netlify completes and navigate to your website URL in the browser. Check if the favicon is correctly displayed. Now, if you run the favicon check on the realfavicongenerator.net again, it will pass all the tests.
Now, the task is complete!
Summary
In this article, you saw what it takes to add a custom favicon to a Hugo-based website. First, we discussed what files in your Hugo theme should be updated with favicon definitions and where to place favicon images. Second, I showed you how to generate a text-based favicon package using the favicon.io website. Then with the help of the realfavicongenerator.net website, I demonstrated to you how to check if your website’s favicon is valid and correctly displayed in different browsers and on different platforms. To fix favicon issues, we generated a new favicon package and added it to the theme.
Continue reading the series “Building Your Blog, the Geeky Way”:
- Start Blogging With Hugo, GitHub and Netlify
- Configure Custom Domain and HTTPS on Netlify
- Add Favicon to Hugo-Based Website
- Automate Data Upload to Algolia Index
- Manage Environment-Specific Settings for Hugo-Based Website
- Automate Data Upload to Algolia Index : Revisited
- Configure Custom Domain and HTTPS in Netlify : Revisited
- Use Aliases to Redirect Old URLs
- Automate Data Upload to Algolia Index with GitHub Actions